
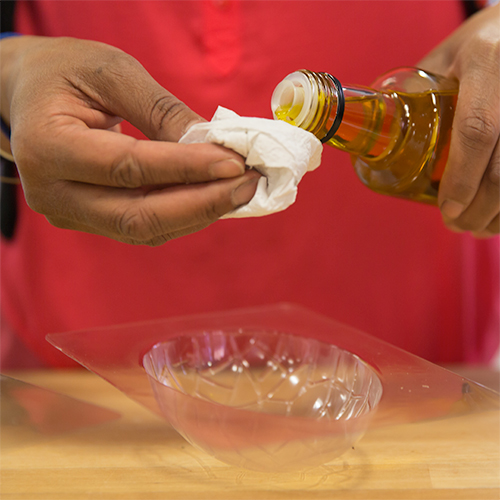
1. Using some flavourless oil wipe the inside of your egg moulds.
2. Heat a pan of water (not boiling) and rest a heat proof bowl over the pan. Break in 300g of dark chocolate (at least 70% cocoa solids). Make sure the bowl isn't touching the hot water.
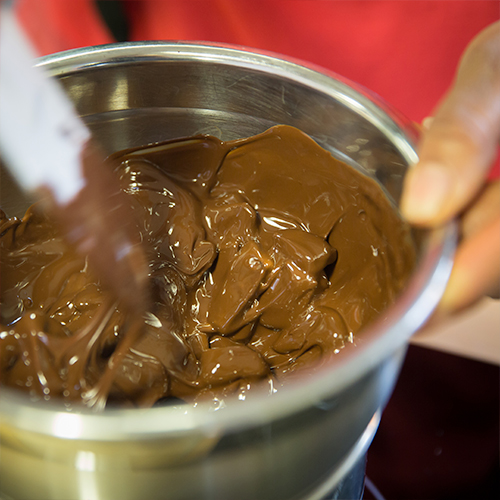
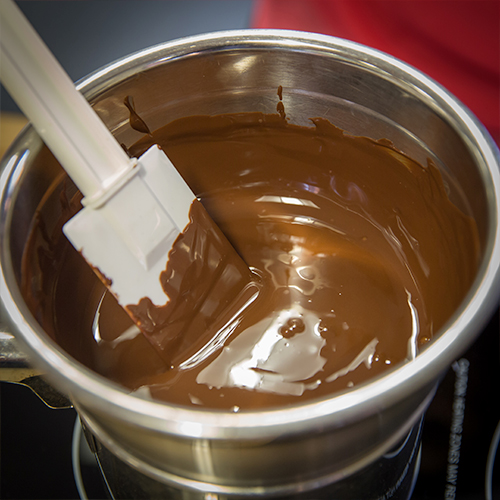
3. Stir the chocolate to ensure it has all melted.
When coating or moulding chocolate it's important to temper the chocolate. Tempering is a method of heating and cooling chocolate which separates the cocoa solids so your finished mould has a wonderfully glistening finish.
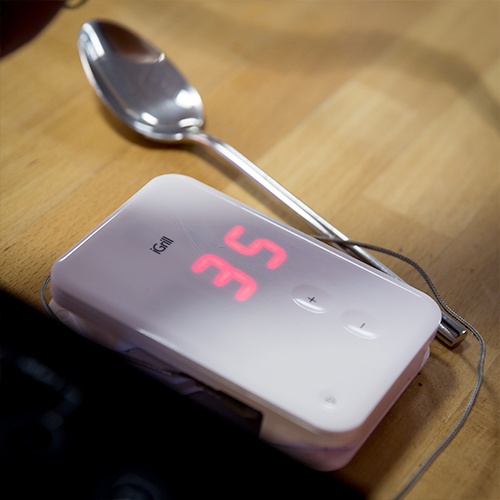
4. To temper the chocolate you will need a thermometer. Heat the chocolate to 43°C and remove from the heat.
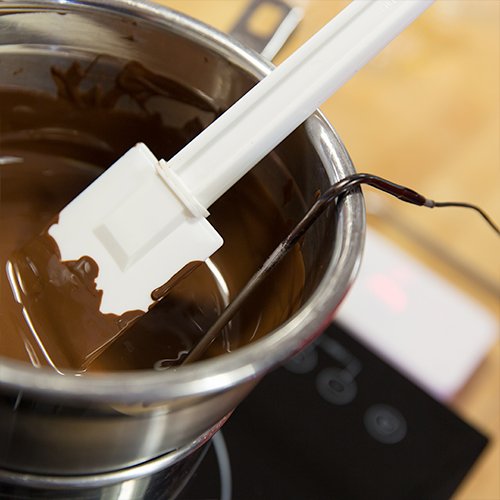
5. Leave the chocolate to cool down to 35°C.
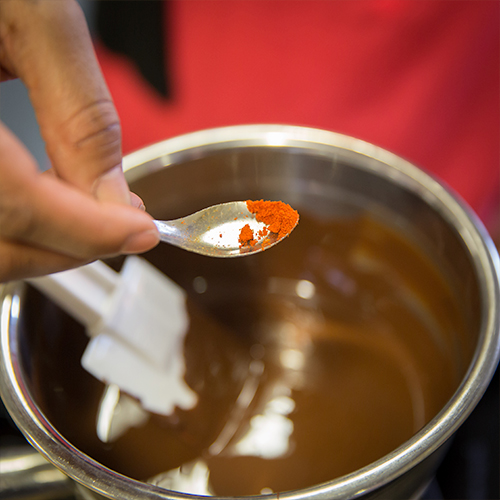
6. Add a little chilli powder (you can also use cinnamon if you prefer) and stir through.
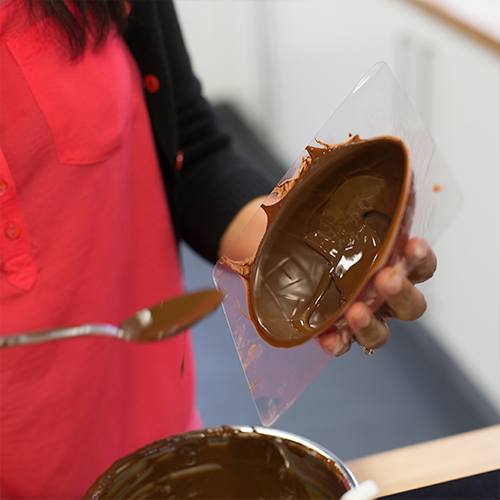
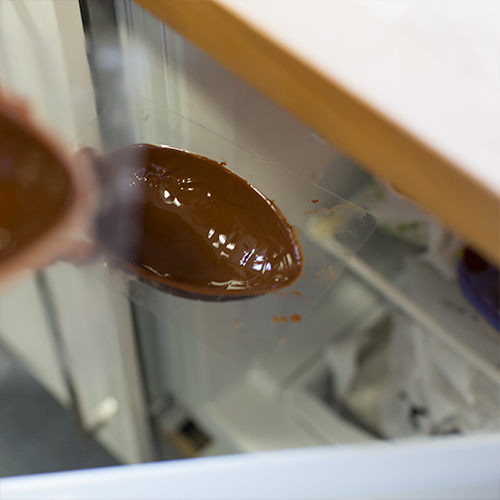
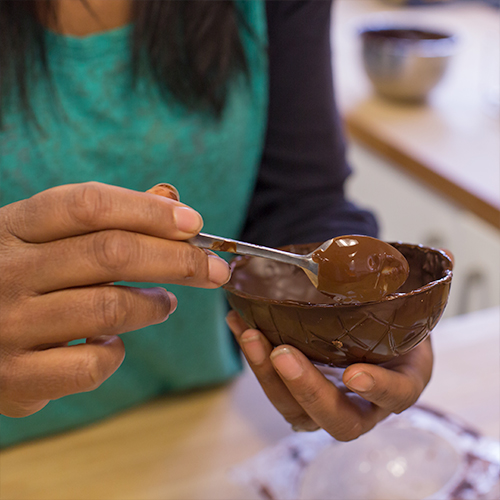
7. Spoon the melted chocolate into the oiled mould.
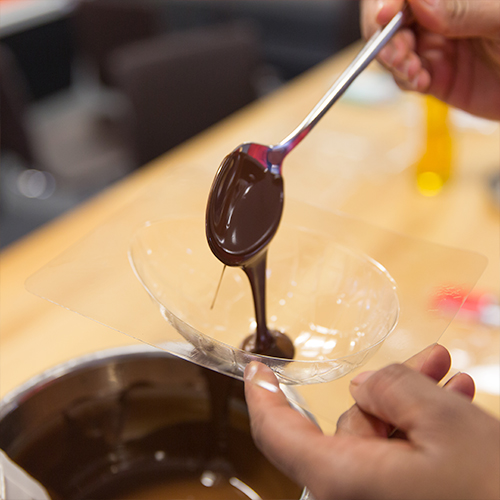
8. Move the chocolate round so it fully coats the inside - remove any excess. Try to keep the layers nice an thin.
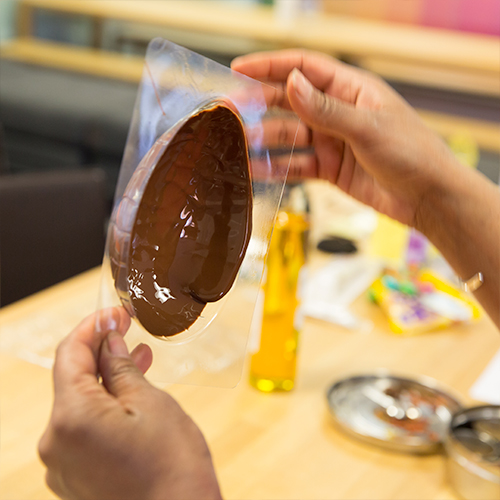
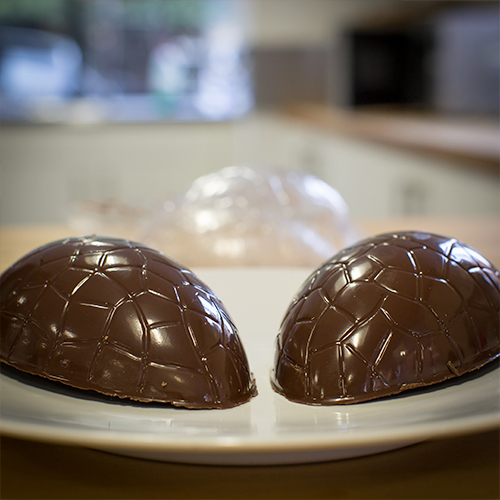
9. Leave the first layer to set with the flat edge down on a tray lined with some greaseproof paper.
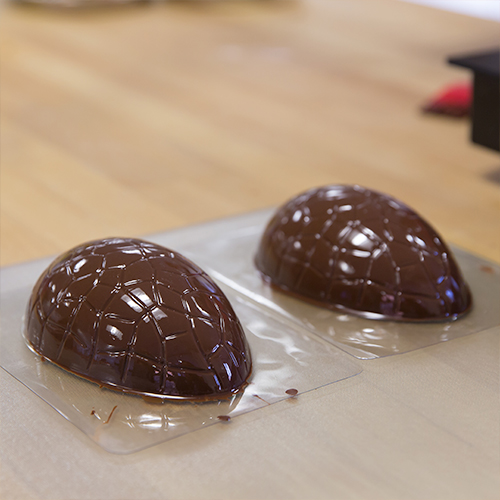
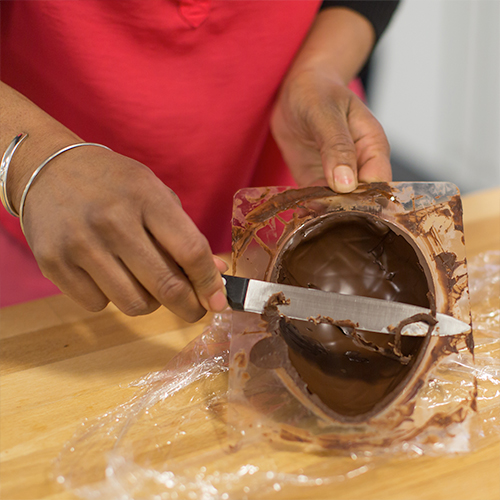
10. Once this has set (about 20 miuntes) use a sharp knife to remove the excess from the edges.
11. Repeat with some more melted chocolate - you will need to do this three times.
12. Place the moulds in the fridge for the last 20 minutes so the chocolate sets firmly.
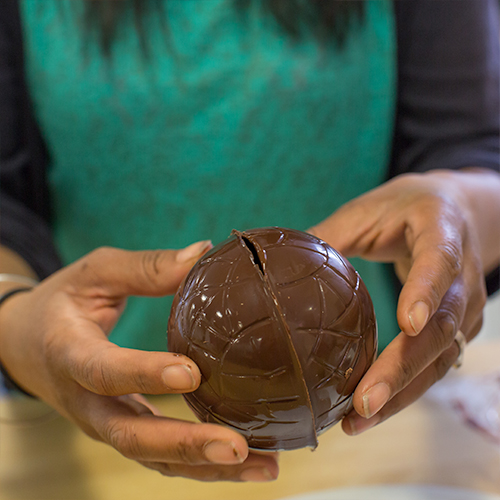
13. Once it has set, very carefully remove the chocolate from the moulds.
14. Try not to handle the chocolate too much. Stick the two halves together either by placing the flat edge on a heated baking sheet so the edges melt or use some melted chocolate to stick them together.
15. Press the two halves together firmly but gently (you don't want to break them).
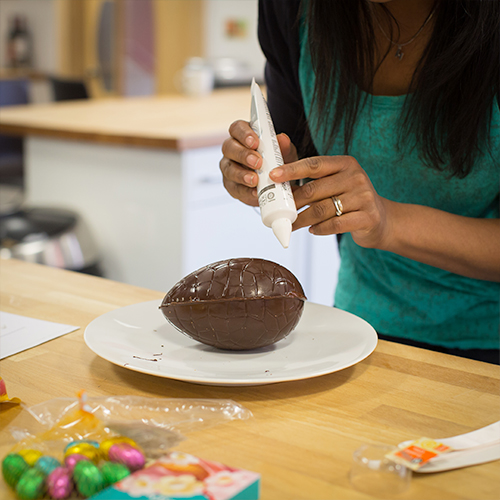
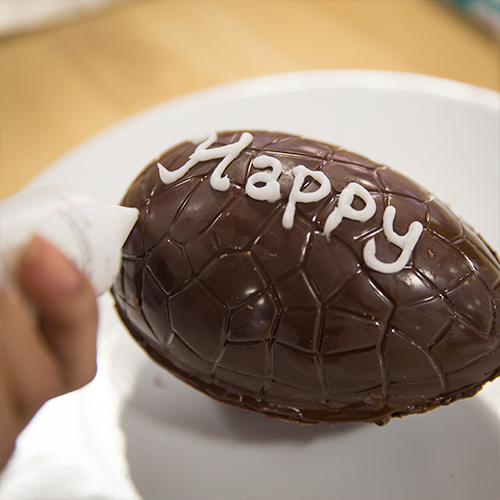
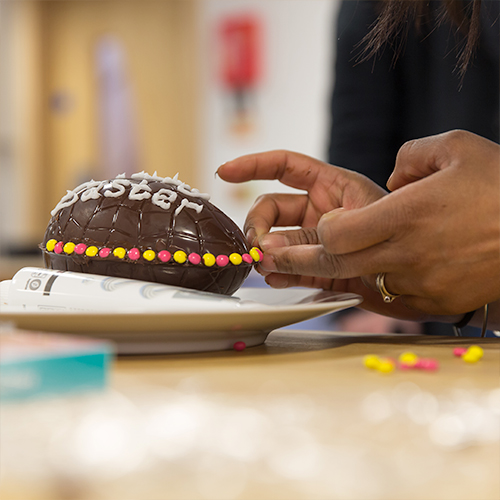
16. Get creative and decorate your egg however you like - you can use icing, Easter decorations such as chicks and bunnies, ribbons and lots more chocolate too.

16. Wrap them up in celophane as gifts or place them in little baskets - you family will love you!


Comments